
IMPORTANT: These instructions have been updated for the latest iPhone firmware. Please follow the up to date instructions here
*****
These are instructions on how to unlock and jailbreak your iPhone 2G on the 3.0.x iPhone firmware using RedSn0w for Windows. Before beginning make sure you have updated to iTunes 8.2.
You can find the Mac version of this tutorial here
** If you would like to jailbreak on the 3.0.1 firmware you can follow these exact instructions; however, in Step Two restore using this 3.0.1 iPhone firmware file instead of the 3.0 one. Continue with the instructions as indicated.**
Step One
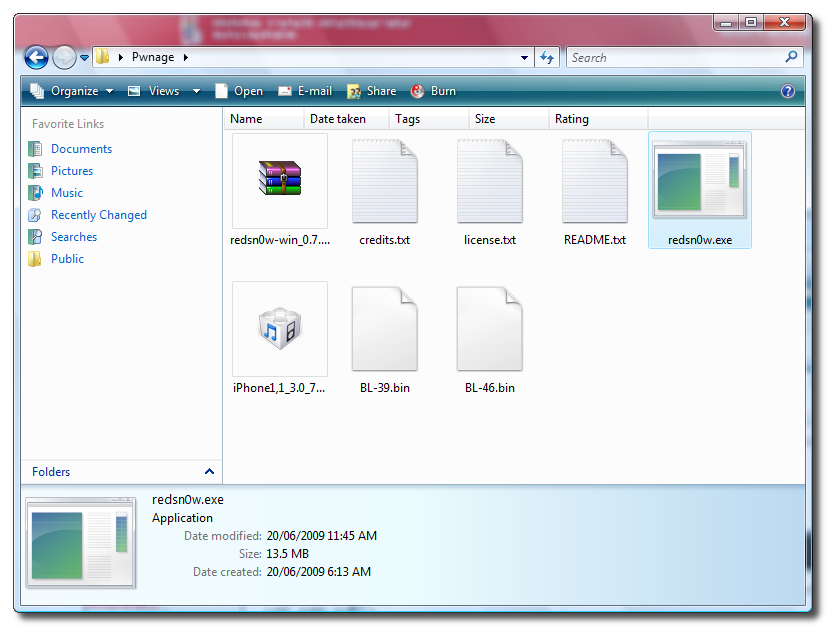
Create a folder called Pwnage on your desktop.
Download the following files and place them in the Pwnage folder you just created:
- RedSn0w
- BL 3.9
- BL 4.6
- 3.0.0 (2G): iPhone1,1_3.0_7A341_Restore.ipsw
Extract the RedSn0w zip file to the Pwnage folder.
Step Two
Connect your iPhone to the computer and launch iTunes.
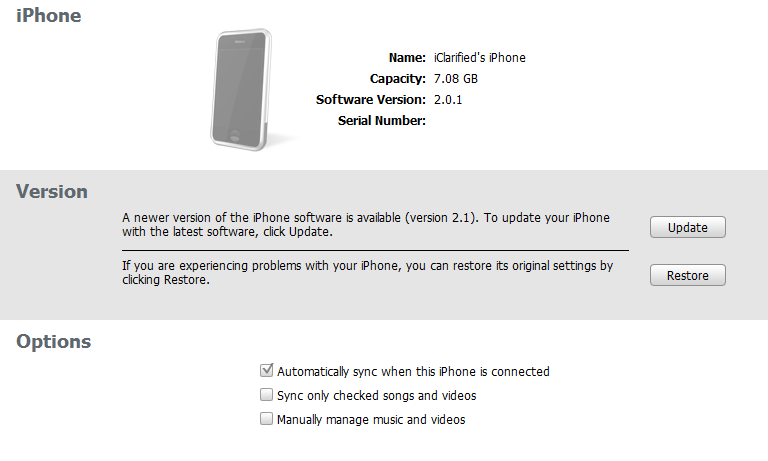
Select your iPhone from the list of devices on the left. Now hold down shift and click the Restore button. Restore is preferred as it won't create any wasted space on your iPhone.
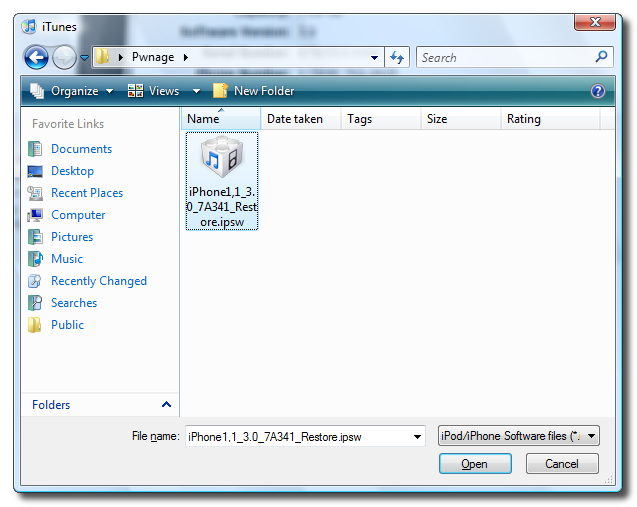
Navigate to the Pwnage folder on your desktop and select the firmware ipsw. Click the Open button to continue.
Step Three
Once iTunes has finished updating your iPhone to the desired firmware you may launch redsnw0w.exe from the Pwnage folder on your desktop.
Step Four
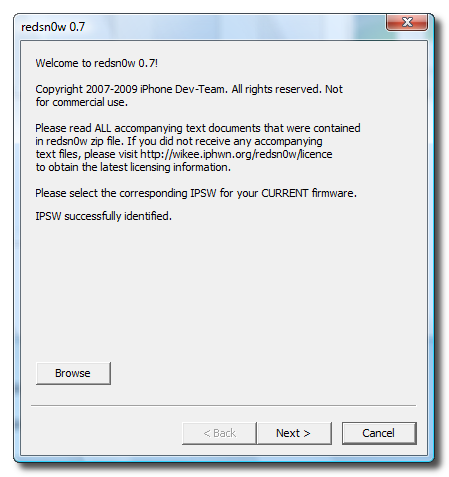
Once RedSn0w opens click the Browse button
Step Five
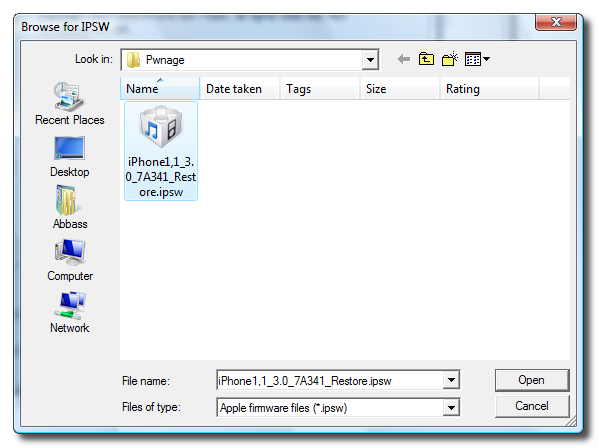
Select the firmware ipsw we placed in the Pwnage folder on our desktop then click Open
Step Six
Once the firmware has been verified click the Next button to continue.
Step Seven
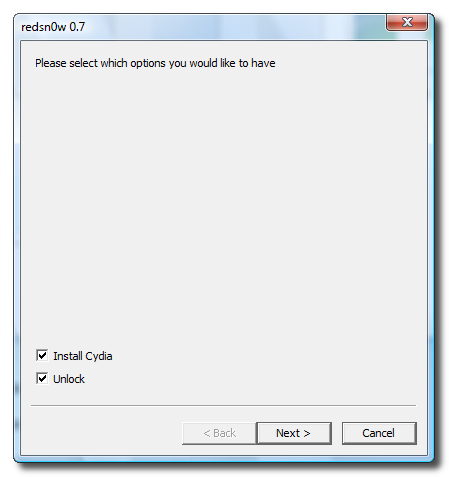
Make sure Cydia and Unlock is selected and click the Next button.
Step Eight
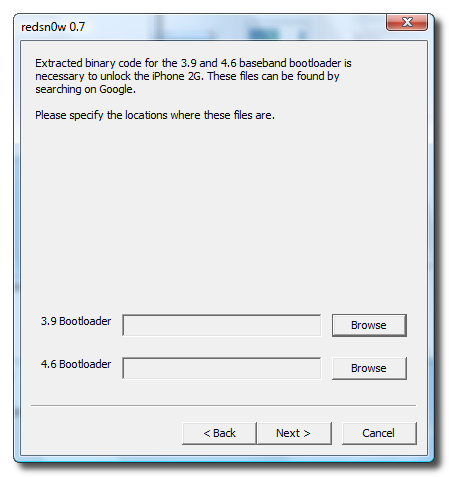
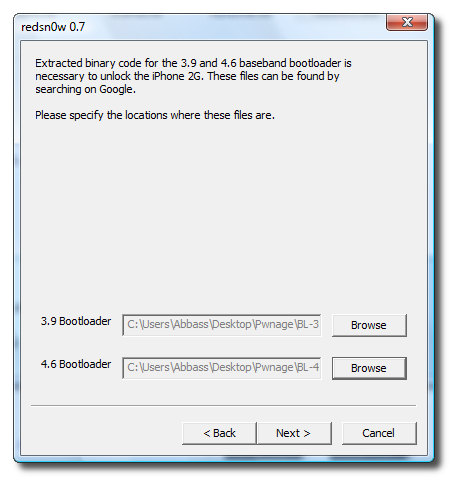
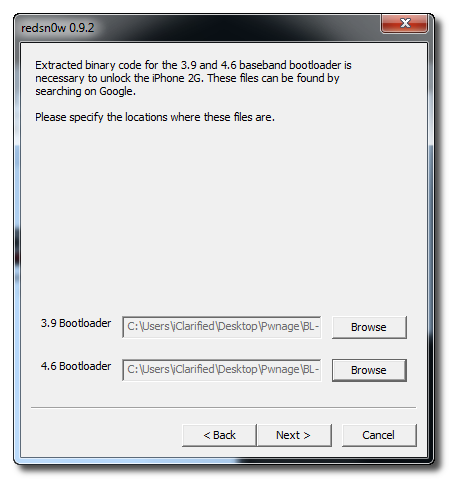
We will know need to set the location of our bootloader files.
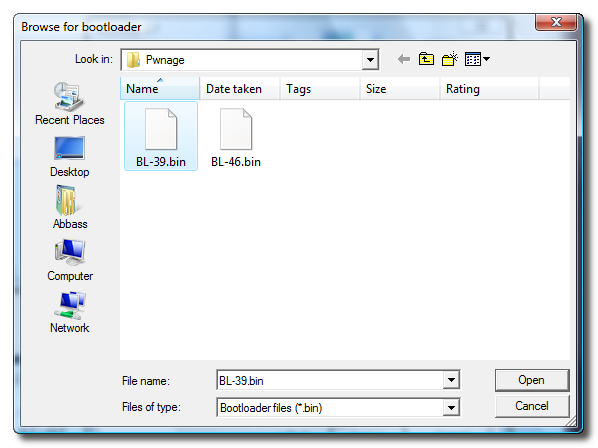
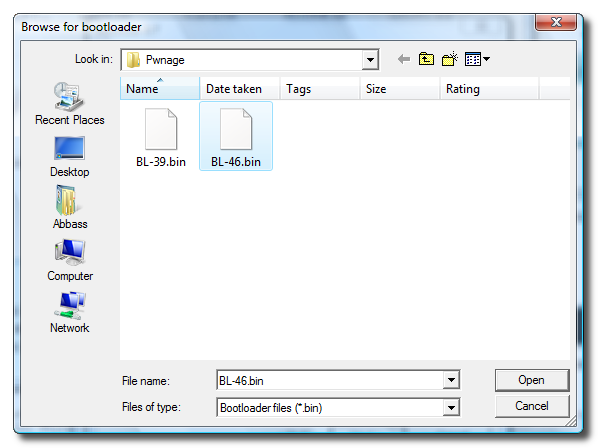
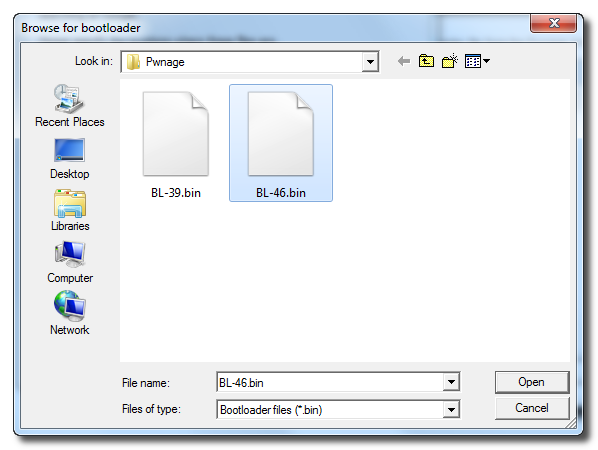
Click Browse and select the 3.9 bootloader file from the Pwnage folder on your desktop.
Click Browse and select the 4.6 bootloader file from the Pwnage folder on your desktop.
Click the Next button to continue.
Step Nine
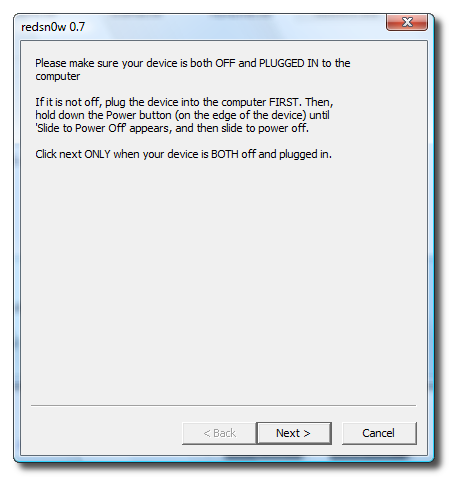
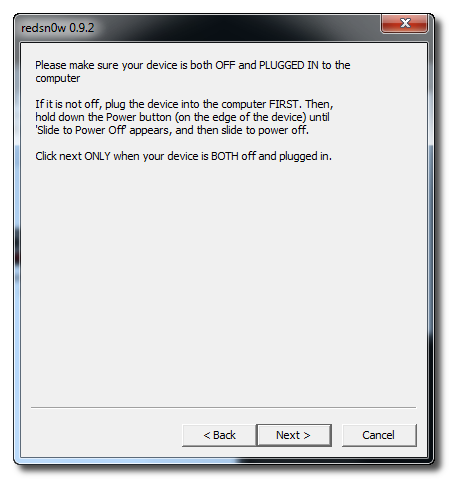
Please plug your iPhone into the computer and make sure its OFF then click the Next button
Step Ten
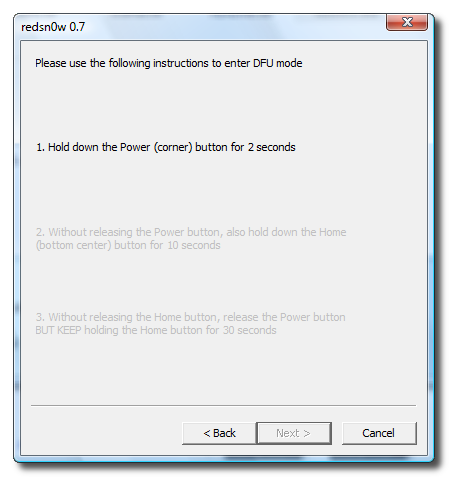
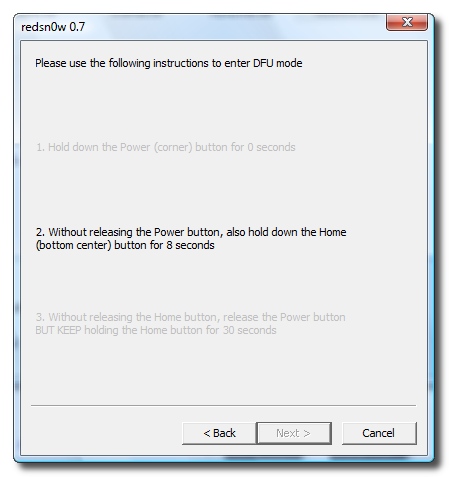
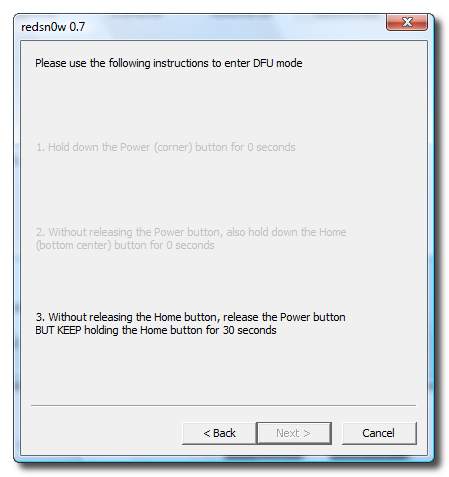
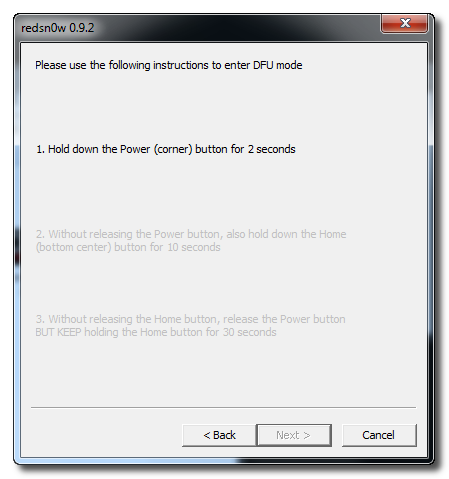
RedSn0w will now guide you through the steps to get into DFU mode.
Hold down both the Home button and the Power button for 10 seconds.
Release the Power button and continue holding the Home button until RedSn0w detects the device.
Step Eleven
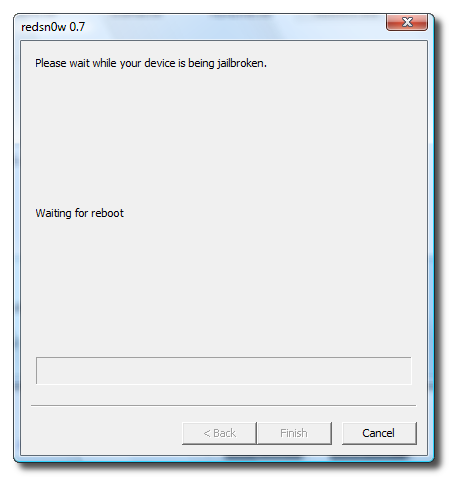
Your iPhone will now reboot
Step Twelve
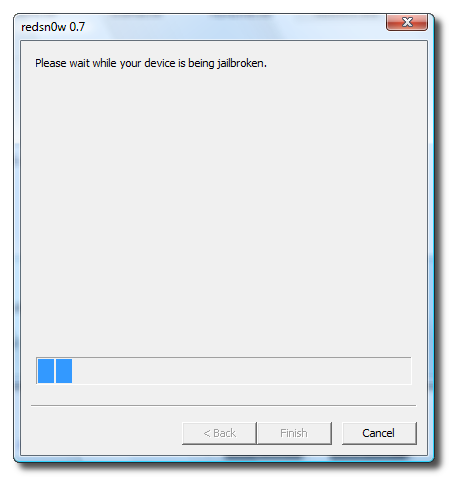
RedSn0w will then begin uploading the new RAM Disk.
Step Thirteen
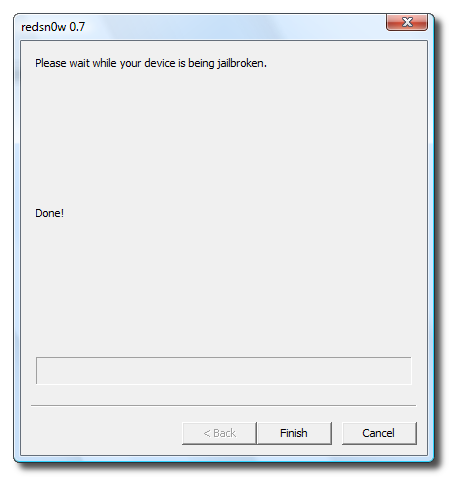
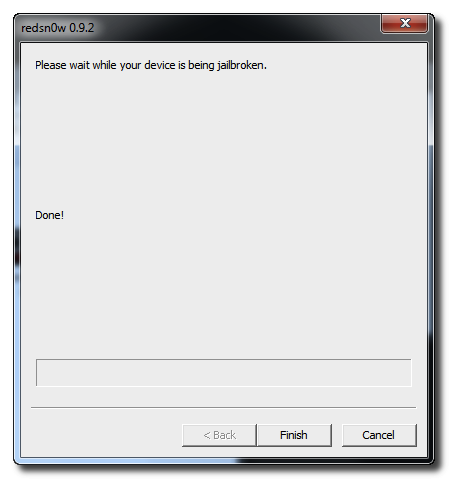
Once this is complete you will be notified that RedSn0w is done. Click the Finish button.
When your iPhone finishes reboot (5 minutes or so). It will run BootNeuter then be unlocked and jailbroken with Cydia on the SpringBoard.
How to Unlock/Jailbreak Your iPhone 2G on OS 3.0.x Using RedSn0w (Windows)
Saturday, December 25, 2010



Labels:
iPhone 2G
0
comments

How to Unlock the iPhone 3GS Using PurpleSn0w
These are instructions on how to unlock the iPhone 3GS for use with any GSM cellphone carrier using PurpleSn0w. Geohot has posted stating that the purplesn0w unlock should improve issues with wifi, battery, and the unlock itself. If you would prefer to use the iPhone Dev-Teams UltraSn0w unlock you can find those instructions here
Before you can follow these instructions you must have a jailbroken iPhone and you must be on the 04.26.08 baseband(modem firmware). This means that you must be running the 3.0 firmware and have used PwnageTool, RedSn0w, or PurpleRa1n to jailbreak. YOU MUST ALSO (FOR THE TIME BEING) HAVE ACTIVATED YOUR IPHONE WITH AN OFFICIAL APPLE CARRIER. NO HACTIVATION SUPPORT YET.
To find your firmware and modem firmware(baseband) versions you can follow this tutorial. If you are not on baseband version 04.26.08 then you need to follow one of these tutorials before unlocking: Mac, Windows
If you are on T-Mobile or any carrier without 3G remember to turn it off before starting...
Step One
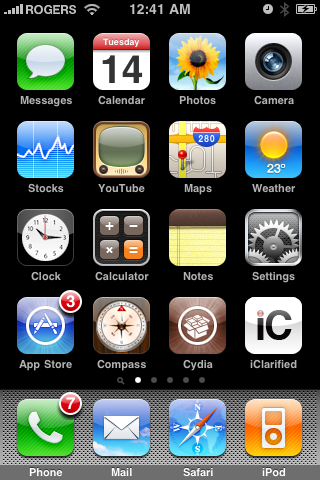
Press to launch Cydia Installer from your SpringBoard.
Step Two
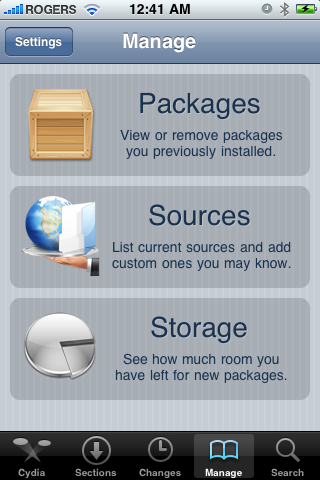
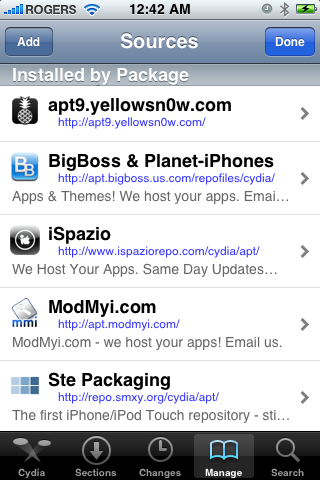
Press to select the Manage tab at the bottom of the screen.
Step Three
Press to select the large Sources button
Step Four
Press the Edit button at the top right of the screen.
Step Five
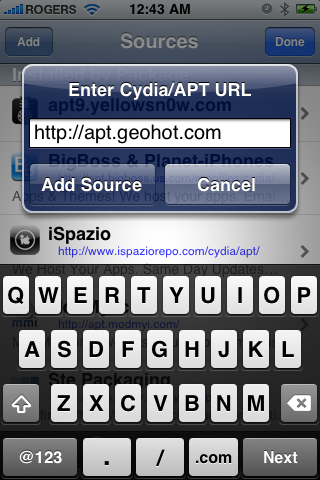
Press the Add button at the top left of the screen.
Step Six
Enter http://apt.geohot.com/ as the source url and press the Add Source button.
Step Seven
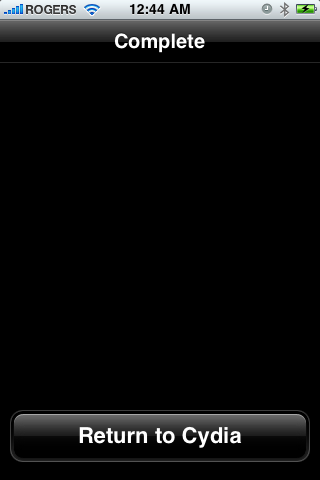
Once the source has been added press the large Return to Cydia button.
Step Eight
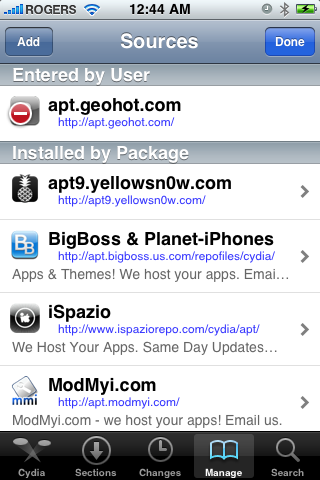
Press the Done button at the top right of the screen.
Step Nine
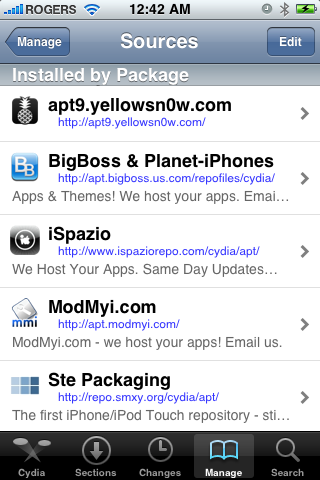
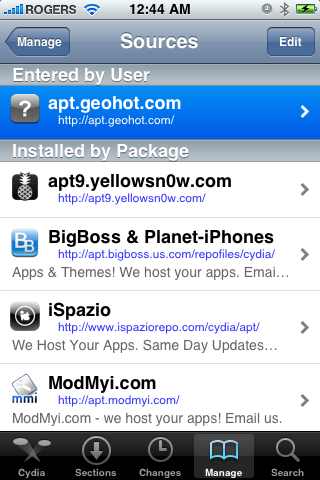
Press to select apt.geohot.com from the list of user entered sources.
Step Ten
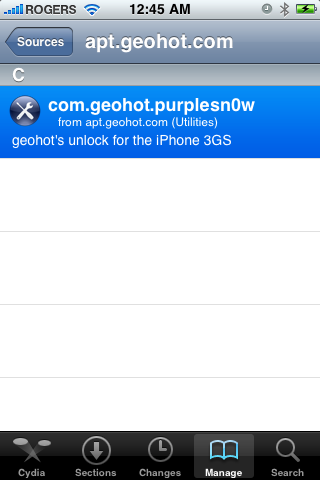
Press to select com.geohot.purplesn0w from the list of packages
Step Eleven
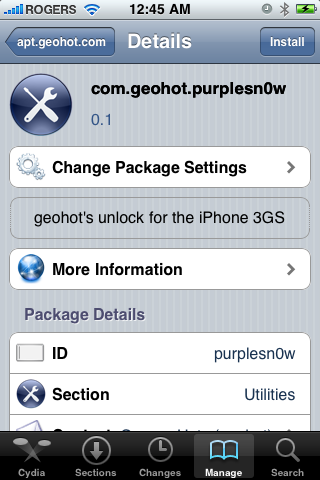
Press the Install button at the top right of the screen.
Step Twelve
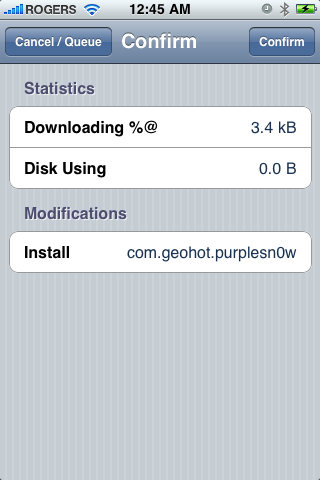
Press the Confirm button at the top right of the screen.
Step Thirteen
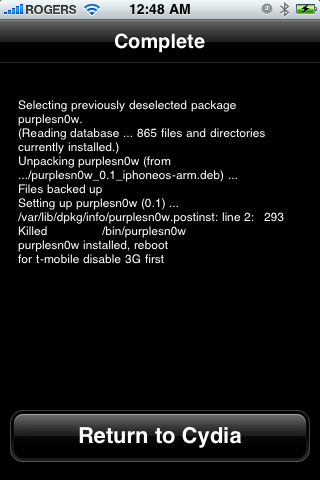
After installation completes successfully press the large Return to Cydia button.
Step Fourteen
Now press the Home button then power off and power on the iPhone. You do this by holding down the power button for 3 seconds then moving the power slider that appears to the right. Press the power button again to turn on the phone.
You should now be able to insert the SIM of your choice!


Labels:
iPhone 3GS
0
comments
How to Unlock the iPhone 3G, 3GS Using BlackSn0w
These are instructions on how to unlock the iPhone 3G and 3GS using BlackSn0w. To follow these instructions you must be on the 05.11.07 baseband and have already jailbroken.
If you have not already jailbroken it will be easier to follow one of these tutorials which will walk you through both jailbreaking and unlocking.
- Windows
- Mac
To check your baseband you can follow these instructions.
Lets begin...
 Watch the Video!
For your convenience this tutorial is available in video format also. Click the Watch It button to view the tutorial!
Step One
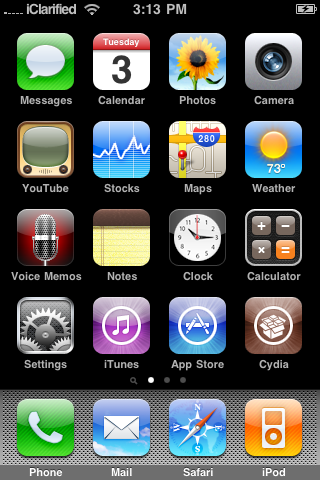
Press to launch Cydia from your iPhone Springboard.
Step Two
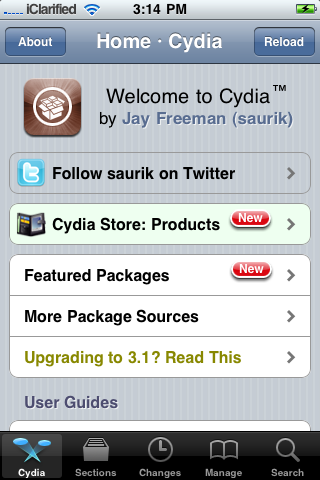
Press to select Manage from the tabs at the bottom of the screen.
Step Three
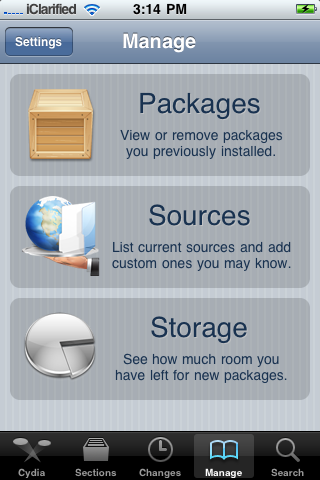
Press the large Sources button.
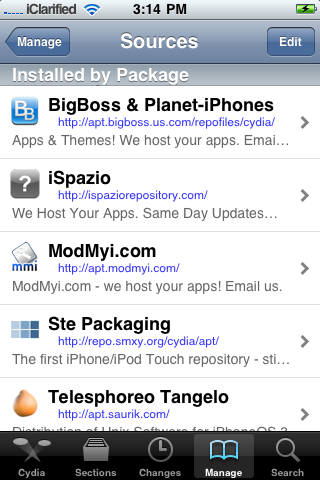
Step Four
Press the Edit button at the top right of the screen.
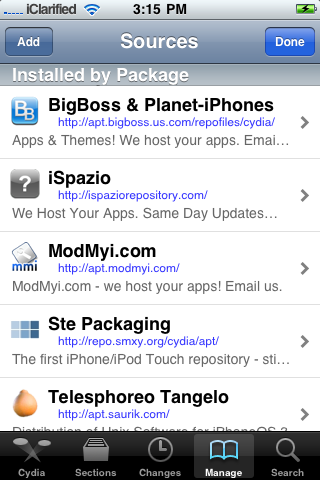
Step Five
Press the Add button at the top left of the screen.
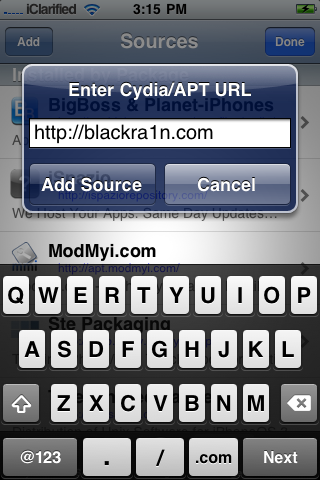
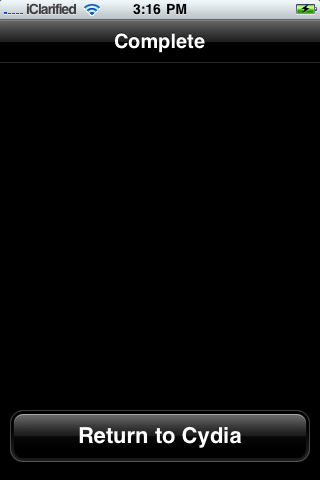
Step Six
Input http://www.blackra1n.com as the source address then press the Add Source button. Once Cydia has added the source press the large Return to Cydia button.
Step Seven
Press the Done button at the top right of the screen.

Step Eight
Press to select blackra1n.com from the list of sources.
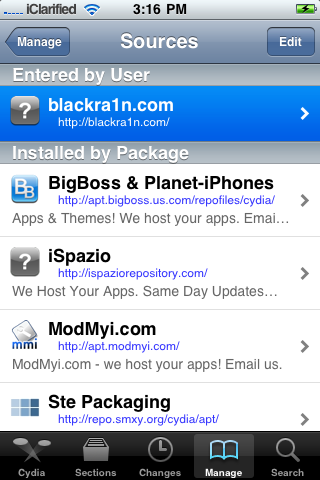
Step Nine
Press to select blacksn0w from the list of packages.
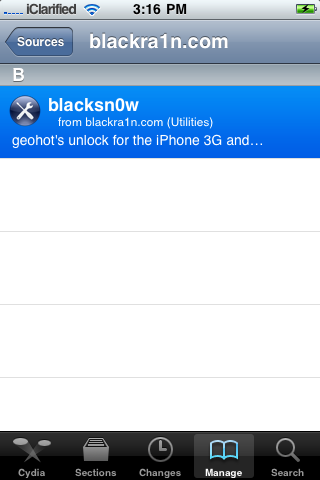
Step Ten
Press the Install button at the top right of the screen.
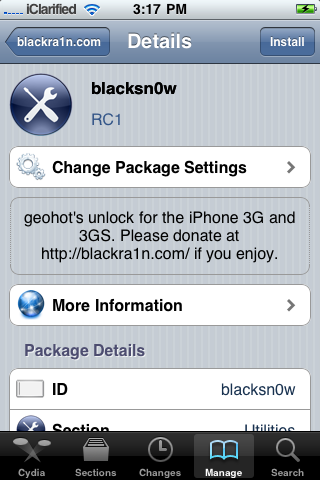
Step Eleven
Press the Confirm button at the top right to begin installation.

Step Twelve
Once the unlock has been installed successfully press the large Return to Cydia button.
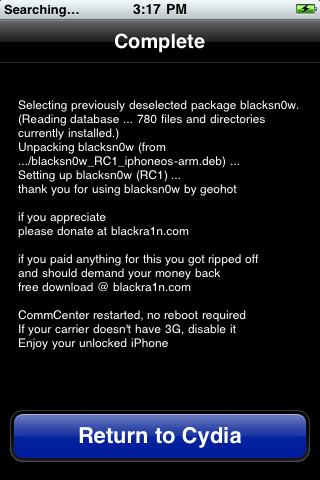
Step Thirteen
Wait a few minutes for your CommCenter to restart and you will now be able to use the SIM card of your choice on your unlocked iPhone!
Labels:
3GS,
iPhone 3G
0
comments
How to Unlock/Jailbreak Your iPhone 2G on OS 3.1.3 Using RedSn0w (Windows)
These are instructions on how to unlock and jailbreak your iPhone 2G on the 3.1.2 iPhone firmware using RedSn0w for Windows.
You can find the Mac version of this tutorial here. If you have an iPhone 3G click here, if you have and iPhone 3GS click here
Step One
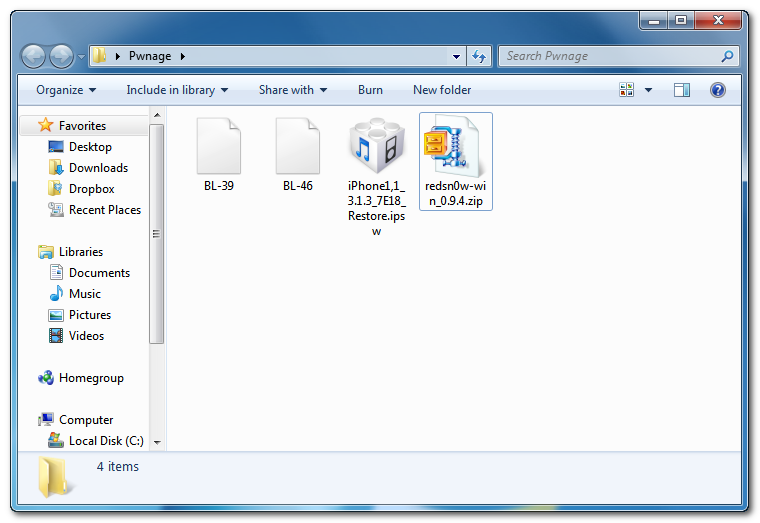
Create a folder called Pwnage on your desktop.
Download the following files and place them in the Pwnage folder you just created:
- RedSn0w
- BL 3.9
- BL 4.6
- 3.1.3 (2G): iPhone1,1_3.1.3_7E18_Restore.ipsw
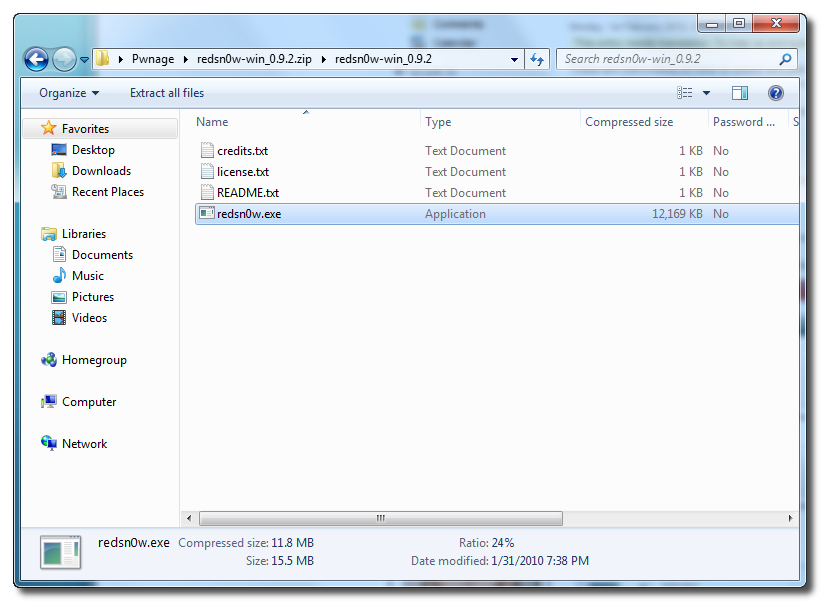
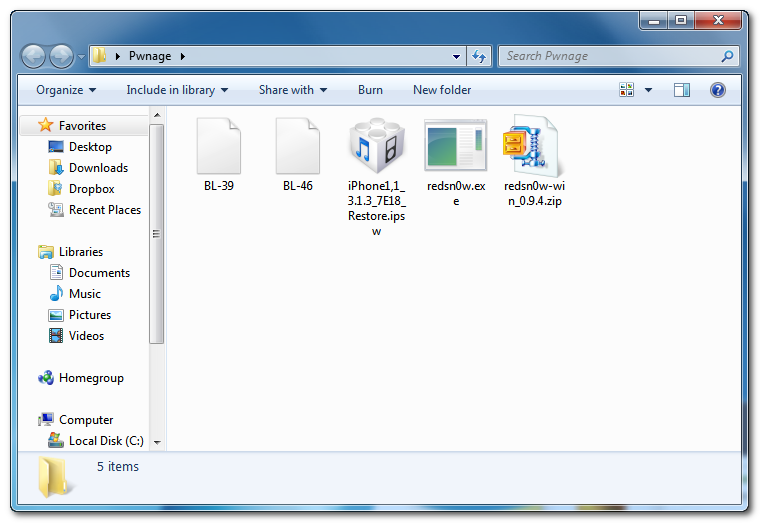
Extract the RedSn0w application from the zip file to the Pwnage folder.
Step Two
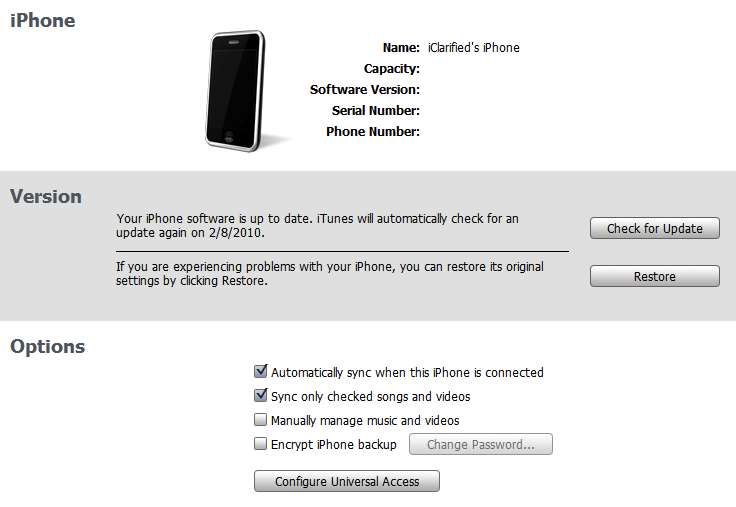
Connect your iPhone to the computer and launch iTunes.
Select your iPhone from the list of devices on the left. Now hold down shift and click the Restore button. Restore is preferred as it won't create any wasted space on your iPhone.
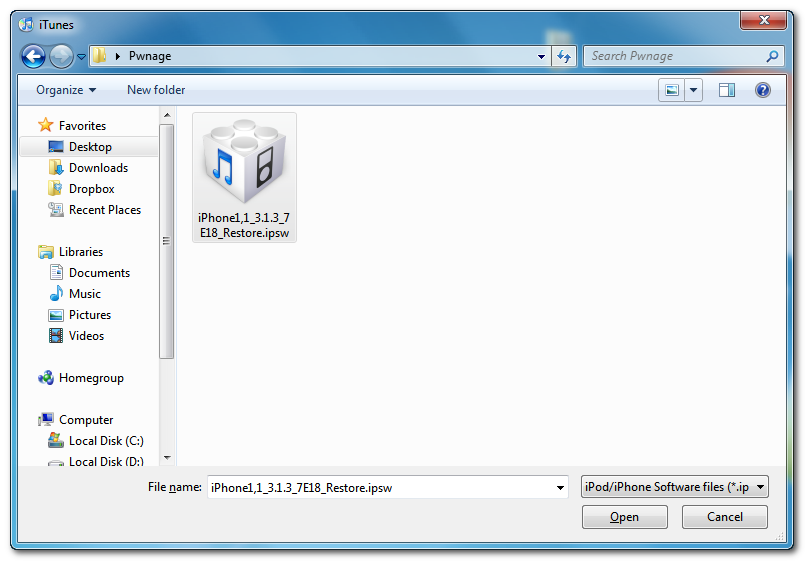
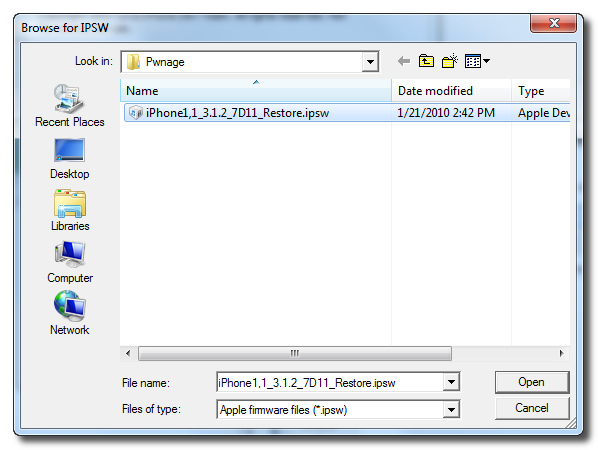
Navigate to the Pwnage folder on your desktop and select the firmware ipsw. Click the Open button to continue.
Step Three
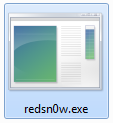
Once iTunes has finished updating your iPhone to the desired firmware you may launch redsnw0w.exe from the Pwnage folder on your desktop.
Step Four
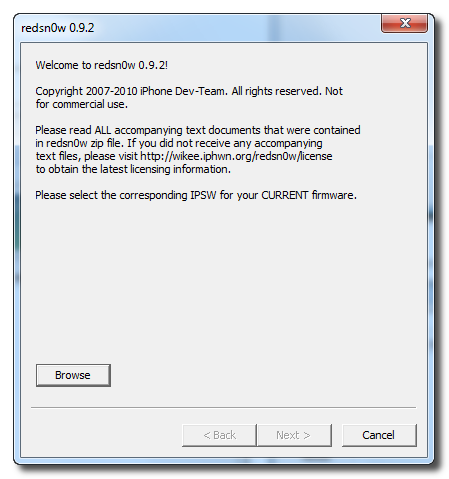
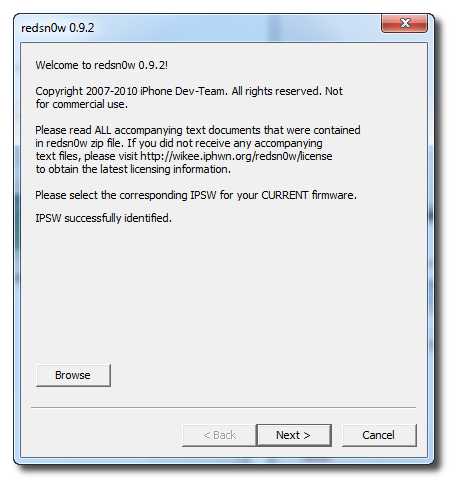
Once RedSn0w opens click the Browse button
Step Five
Select the firmware ipsw we placed in the Pwnage folder on our desktop then click Open
Step Six
Once the firmware has been verified click the Next button to continue.
Step Seven
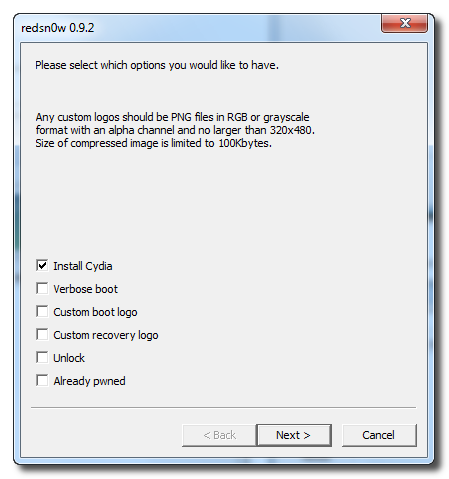
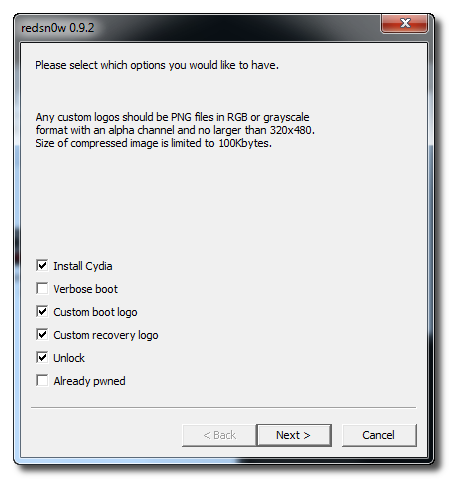
From this window you can select the jailbreak options you would like. If you have already pwned your device check the Already pwned option.
Verbose boot displays detailed information on boot of your device and is generally only needed by developers and advanced users.
Make sure the Cydia and Unlock options are selected. For this tutorial we will also select Custom boot logo and Custom recovery logo.
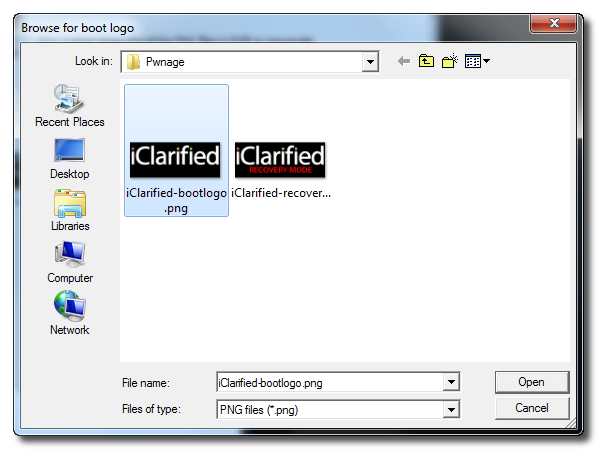
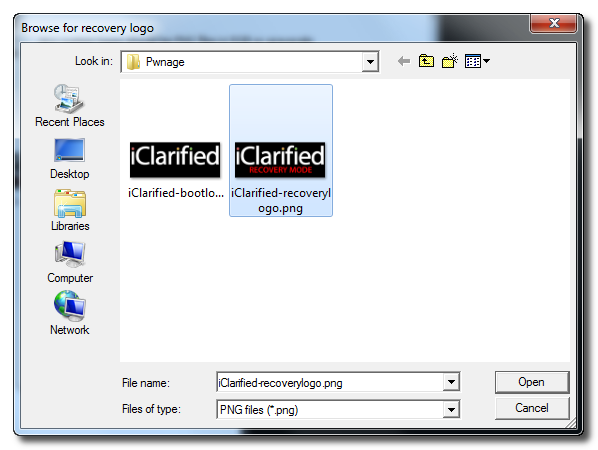
When you click to select each custom logo option a dialog window will appear asking you to select the image. Locate the image you would like to use then press the Open button.
*Remember the rules for boot logos are: RGB or Grayscale format with Alpha channel and dimension below 320x480. If you would like to use the iClarified ones they can be found here: Boot Logo, Recovery Logo
Click the Next button to continue
Step Eight
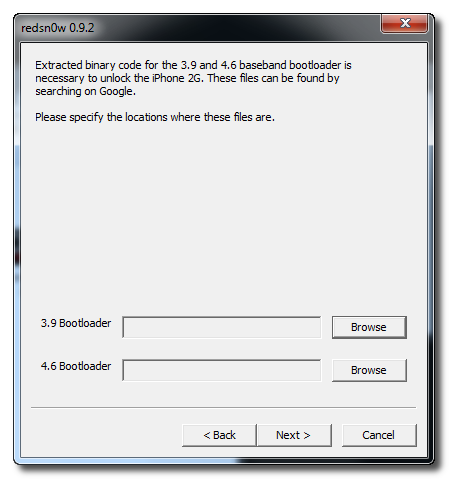
We will know need to set the location of our bootloader files.
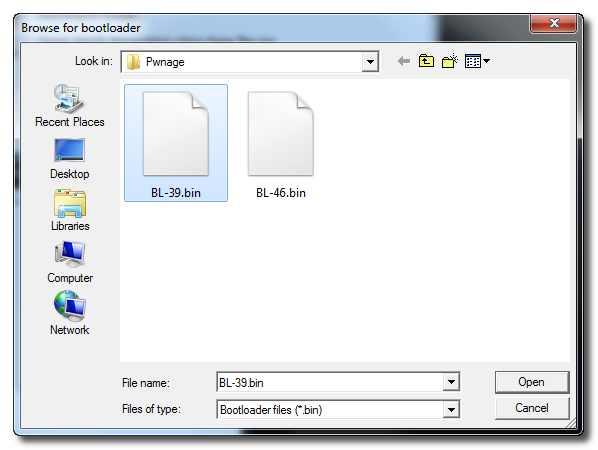
Click Browse and select the 3.9 bootloader file from the Pwnage folder on your desktop.
Click Browse and select the 4.6 bootloader file from the Pwnage folder on your desktop.
Click the Next button to continue.
Step Nine
Please plug your iPhone into the computer and make sure its OFF then click the Next button
Step Ten
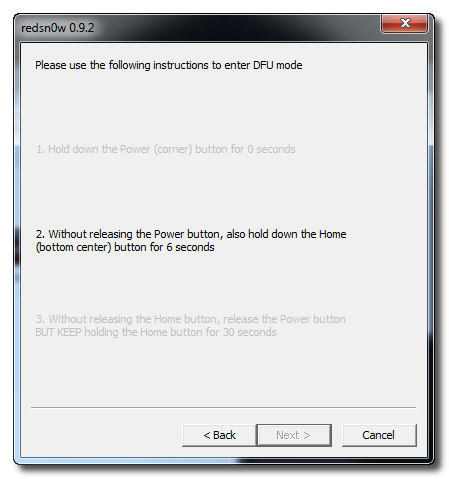
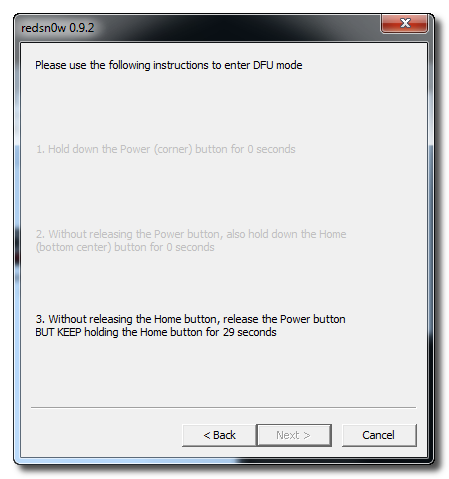
RedSn0w will now guide you through the steps to get into DFU mode.
Hold down both the Home button and the Power button for 10 seconds.
Release the Power button and continue holding the Home button until RedSn0w detects the device.
Step Eleven
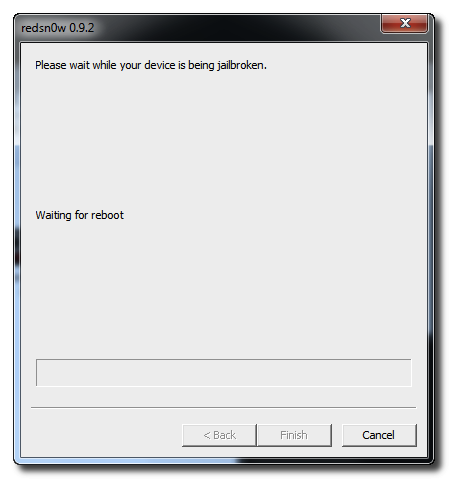
Your iPhone will now reboot
Step Twelve
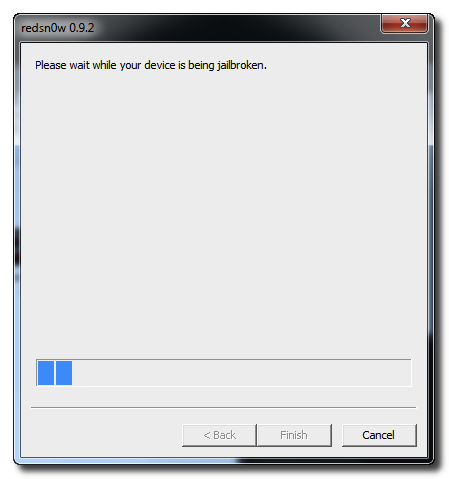
RedSn0w will then begin uploading the new RAM Disk and Kernel.
Step Thirteen
Once this is complete you will be notified that RedSn0w is done. Click the Finish button. After your iPhone reboots (5 minutes or so), it will run BootNeuter then be unlocked and jailbroken with Cydia on the SpringBoard.

Labels:
iPhone 2G
0
comments